
Why Freestanding Baths Have Become the Signature Feature of the Modern Australian Bathroom
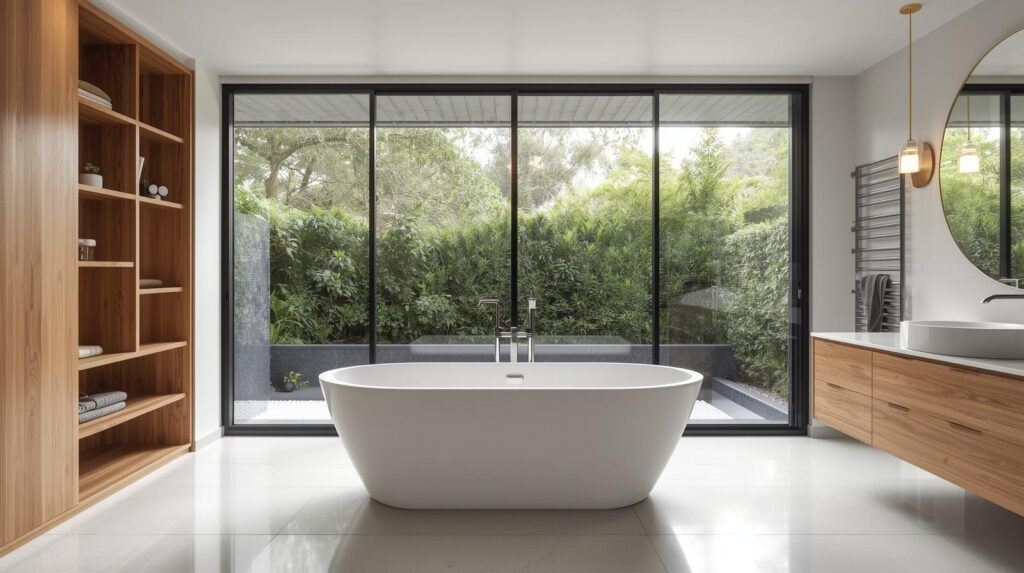
A freestanding bath is one of the most sought-after features in modern Australian bathroom design. It combines sculptural beauty, luxurious comfort, and premium craftsmanship in a single statement piece. This type of bath can transform an ordinary bathroom into a truly aspirational space. Unlike built-in or alcove baths, a freestanding tub stands independently within the room. It does not rely on surrounding walls or enclosures to define its shape. Because it is visible from all sides, it creates a strong visual impact. It also eliminates the need for perimeter tiling to contain or frame the bath.
The wellness culture that has reshaped how Australians view their bathrooms over the past decade has significantly increased the appeal of freestanding baths. Homeowners are increasingly transforming bathrooms from purely functional spaces into personal sanctuaries for relaxation, mindfulness, and restoration. As a result, the freestanding bath has become a symbol of luxury and comfort. Inspired by high-end hotels and European spa culture, it reflects elegance, wellbeing, and the simple pleasure of a long soak. In the Australian property market, real estate agents often view a well-positioned, high-quality freestanding bath as a premium feature. Whether installed in a main bathroom or an ensuite, it can enhance buyer appeal. It may also increase a home’s desirability and add value to the overall bathroom investment.
Types of Freestanding Baths: Materials, Shapes, and Styles

Freestanding baths are available in a remarkable range of materials, forms, and aesthetic styles, making the selection process both exciting and potentially overwhelming. Understanding the key material and design categories helps narrow the choice to options that genuinely suit your bathroom’s architecture, your personal aesthetic, your usage patterns, and your budget.
Acrylic freestanding baths dominate the market. They provide the most accessible entry point to the freestanding bath category. Manufacturers design these baths with lightweight construction and excellent heat retention. They are available in a wide range of shapes and sizes. Prices typically start at around $500 for entry-level models and can exceed $3,000 for premium designs. Acrylic is a poor conductor of heat, which helps keep bathwater warm for longer.
The quality of acrylic baths varies significantly. Entry-level models may be thinner and can flex underfoot. They may also develop surface scratches over time. Premium acrylic baths use thicker acrylic sheets, reinforced bases, and higher-quality gel coat finishes. These features create a more solid and luxurious feel.
Cast iron freestanding baths are among the most prestigious and durable options available. They offer excellent thermal mass, allowing bathwater to stay warm for much longer than in other bath materials. These baths are also highly durable and can last for generations, making them a true heirloom investment. However, they come with several drawbacks. Their substantial weight, often between 100 and 200 kilograms when empty, requires a structural assessment before installation. Quality cast iron models are also expensive, typically costing between $2,500 and $10,000 or more.
Stone resin and composite stone baths occupy a premium position between acrylic and cast iron options. They provide good weight and thermal mass without the extreme heaviness of cast iron. Their surfaces feel smooth and slightly warm to the touch, enhancing comfort during use. These materials also allow for sophisticated organic shapes that complement the stone-and-timber aesthetic commonly seen in contemporary Australian bathroom design.
Floor and Structural Requirements for Freestanding Bath Installation
The structural requirements of a freestanding bath installation are among the most critical and most frequently overlooked aspects of the project, particularly for heavier bath materials. Before finalising the selection of a freestanding bath — and certainly before purchasing — a structural assessment of the floor on which the bath will sit must confirm that the floor can support the combined weight of the bath, the water it will hold (a standard 170-litre full bath weighs approximately 170 kilograms of water alone), and a person — potentially exceeding 300 to 400 kilograms of total point loading in a cast iron installation.
Most modern Australian homes with concrete slab foundations can accommodate any freestanding bath without structural concerns because concrete slabs support substantial distributed loads under normal residential conditions. Timber-framed floors—which are common in pre-1990s Australian homes and all elevated or suspended-floor constructions—require a more detailed evaluation. A structural engineer or experienced licensed builder should assess the floor joists’ size, span, and condition, along with the subfloor’s load-bearing capacity, before installing a heavy bath. An experienced builder can easily strengthen the floor beneath the bath by adding blocking between joists, doubling the joists under the bath, or installing a structural plywood subfloor panel. These upgrades add little to the overall project cost but should occur before the installer lays the finished flooring surface.
The floor finish beneath and around a freestanding bath must provide complete waterproofing and adequate slip resistance. Whether you choose large-format porcelain tiles, natural stone, vinyl, or polished concrete, you must waterproof the bathroom floor in accordance with Australian Standard AS 3740. Water frequently splashes onto the area surrounding the bath as people enter and exit, so selecting a floor surface with an appropriate slip-resistance classification is essential for safety. Homeowners and designers should prioritise this requirement and never sacrifice it for aesthetic appeal.
Plumbing Requirements: Floor Waste, Water Supply, and Bath Filler Options
Plumbing is the most technically complex part of a freestanding bath installation. It often requires significant changes to the existing bathroom infrastructure. Unlike an alcove or built-in bath, a freestanding bath does not conceal plumbing within a wall cavity. Instead, it sits in open space. Installers must route all water supply and waste connections through the floor beneath the bath. They may also use a floor-mounted tap column that hides the supply lines.
The bath waste system carries used water to the drainage network. It requires precise positioning beneath the bath outlet. Manufacturers typically place the outlet near the floor at one end of the bath. During new builds or major renovations, plumbers can install the waste drain in the correct location with ease. This is especially true when the concrete slab is already being opened for other work. In renovations where the slab remains intact, plumbers may run the waste connection horizontally through the screed. This allows it to connect to a nearby waste point. However, the method requires adequate space for the pipework and sufficient fall for drainage. Without careful planning, the installation may require a raised floor section. This can disrupt the bathroom’s level surface.
Plumbers can supply water to a freestanding bath in several ways. Common options include floor-mounted tapware, a freestanding bath filler column, a deck-mounted filler installed on a separate platform, or a wall-mounted bath filler. Wall-mounted fillers are usually positioned at the end of the bath closest to the wall. Many homeowners prefer floor-mounted bath fillers because they create a strong visual feature. They are particularly effective when the bath is positioned away from surrounding walls.
To support this type of installation, plumbers run hot and cold water pipes through the concrete slab or subfloor. The pipes emerge at the exact location of the bath filler. Because these pipe runs sit beneath the finished floor, installers must complete the rough-in stage before laying floor finishes. Homeowners and designers should therefore finalise the bath location and tapware specifications early in the project. Ideally, these decisions should be made before any tiling or flooring work begins.
Step-by-Step Freestanding Bath Installation Process
Installing a freestanding bath involves multiple trades — including a plumber, tiler, and sometimes a structural builder — who must coordinate their work carefully to avoid costly mistakes and rework. Understanding the typical installation sequence helps homeowners communicate effectively with contractors and set realistic expectations for the project timeline and process.
The first stage focuses on structural preparation and plumbing rough-ins. Builders complete any necessary floor reinforcement, waterproofers apply waterproofing to the bathroom floor and the lower sections of the walls, and plumbers install the waste and water supply pipes in the correct locations for the chosen bath and tapware. Before contractors cover these rough-ins, they should verify every measurement against the actual bath dimensions and tapware specifications. Checking measurements twice at this stage helps prevent one of the most expensive installation errors: discovering incorrect plumbing positions after the tiling is complete.
The second stage covers floor tiling or surface finishing. During most bathroom renovations, tilers finish the floor before installers position the freestanding bath because they need unobstructed access to tile the area beneath and around it. In a new bathroom build, contractors complete the floor finish and protect the waste outlet with a temporary cover until the bath is ready for installation.
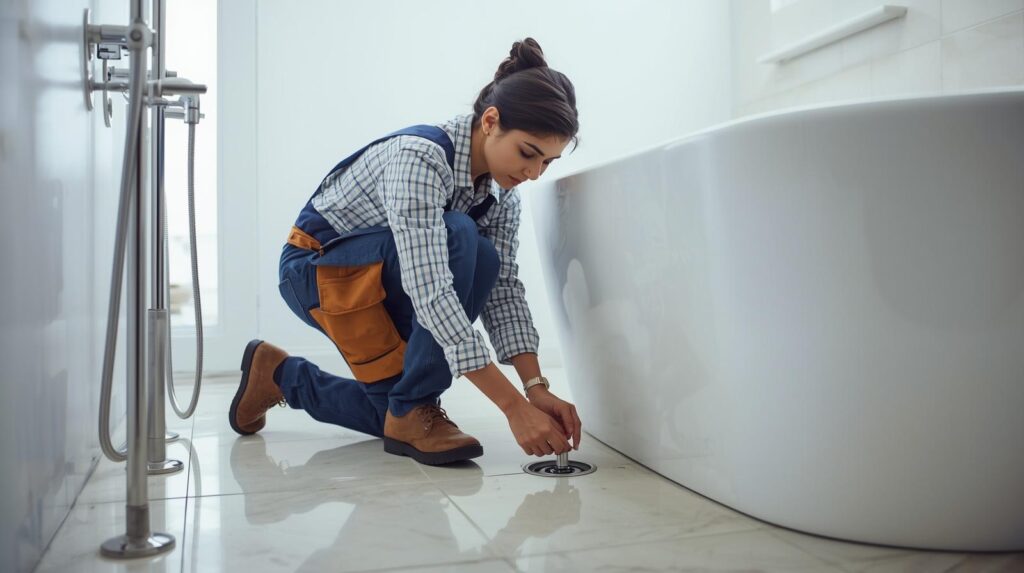
The third and final stage involves setting the bath and connecting the tapware. Installers position the freestanding bath over the waste outlet, connect it through a visible chrome or brushed-metal waste fitting, and carefully level it to ensure a perfectly horizontal position. They then connect floor-mounted tapware to the supply points emerging from the floor and secure all components according to the manufacturer’s specifications. Finally, the plumber thoroughly tests every connection for leaks before approving the installation and placing the bathroom into service.
Freestanding Bath Costs, Common Mistakes, and How to Get the Best Result
Understanding the total cost of a freestanding bath installation is essential for accurate budgeting. The bath itself is only one part of the overall expense. Additional costs include plumbing labour, materials, waterproofing, floor works, tapware, waste fittings, and any required floor reinforcement. You may also need to budget for relocating or modifying existing bathroom fixtures to accommodate the new bath.
A complete freestanding bath installation in an existing bathroom typically costs between $5,000 and $15,000. This estimate usually includes a quality acrylic or stone resin bath, floor-mounted tapware, plumbing works, and minor tiling. The final cost depends on plumbing complexity, tapware quality, and local labour rates. During a full bathroom renovation, the bath forms part of the overall project budget. In this scenario, plumbing rough-in work is often more cost-effective because it is completed alongside other renovation tasks.
Many installation problems can be avoided with proper planning. One common mistake is choosing a bath before confirming the floor can support its weight and the plumbing layout is suitable. Another is failing to align the plumbing rough-in with the bath’s exact dimensions. Homeowners also often select floor-mounted tapware without understanding the requirements for concrete core drilling or subfloor pipe routing. Insufficient clearance around the bath is another frequent issue.
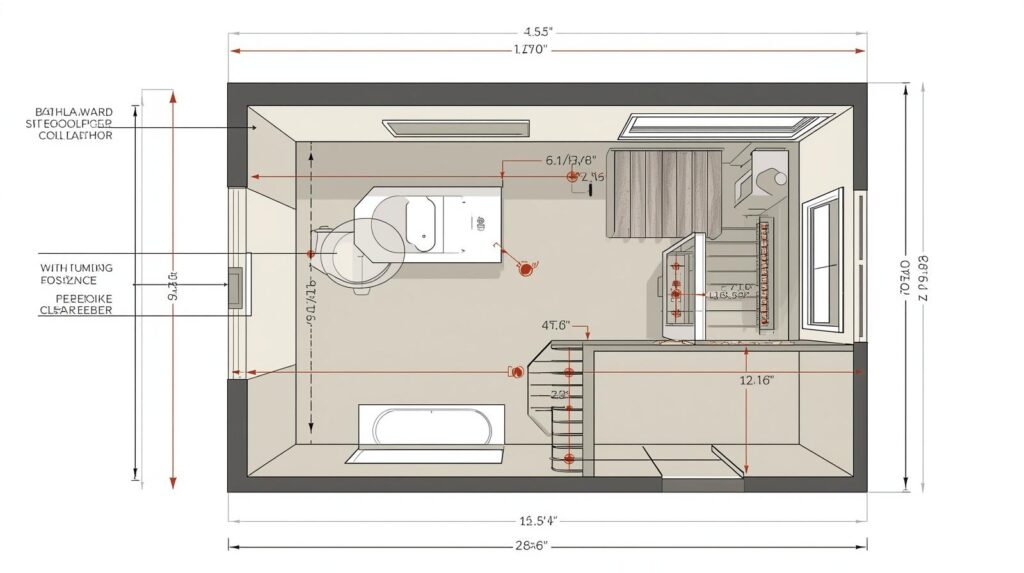
Building codes and practical design guidelines recommend at least 600mm of clear space on all accessible sides of the bath. However, a clearance of 800mm to 1,000mm provides greater comfort and easier access. It also helps the bath become a standout feature rather than making the space feel cramped.
The best results come from hiring a plumber with experience in freestanding bath installations. Confirm all rough-in locations and specifications before any floor work begins. It is also important to treat the bath location as the focal point of the bathroom design. In bathrooms centred around a freestanding tub, the bath naturally becomes the room’s defining feature.


